Venison Chili Recipe — The One That Converts Non-Hunters
This post contains affiliate links. If you purchase through these links, I may earn a small commission at no extra cost to you.
Introduction
I’ve served this venison chili recipe to a lot of people who swore they didn’t like venison. Not a single one of them knew what they were eating until after they’d had seconds. That’s not a trick — that’s just what happens when you cook venison right.
Chili is the great equalizer of wild game cooking. The bold spices, the long simmer, the deep savory base — they do the heavy lifting. The venison brings a cleaner leaner flavor than beef that actually makes the chili taste better once you know what you’re tasting. Less greasy. More complex. Genuinely good.
According to the Quality Deer Management Association there are over 14 million deer hunters in the United States. That’s a lot of ground venison sitting in a lot of freezers from October through spring. And chili is one of the smartest things you can do with it — it uses a full pound or two, freezes beautifully, feeds a crowd, and requires almost no special technique.
I’ve been making this specific recipe for years. I’ve tweaked it, adjusted it, tested different spice ratios and different add-ins. What I landed on is the version below — and it’s the one I make every single time now without thinking twice. Simple enough for a Tuesday night. Good enough to bring to a hunting camp and have people asking for the recipe by the end of the bowl.
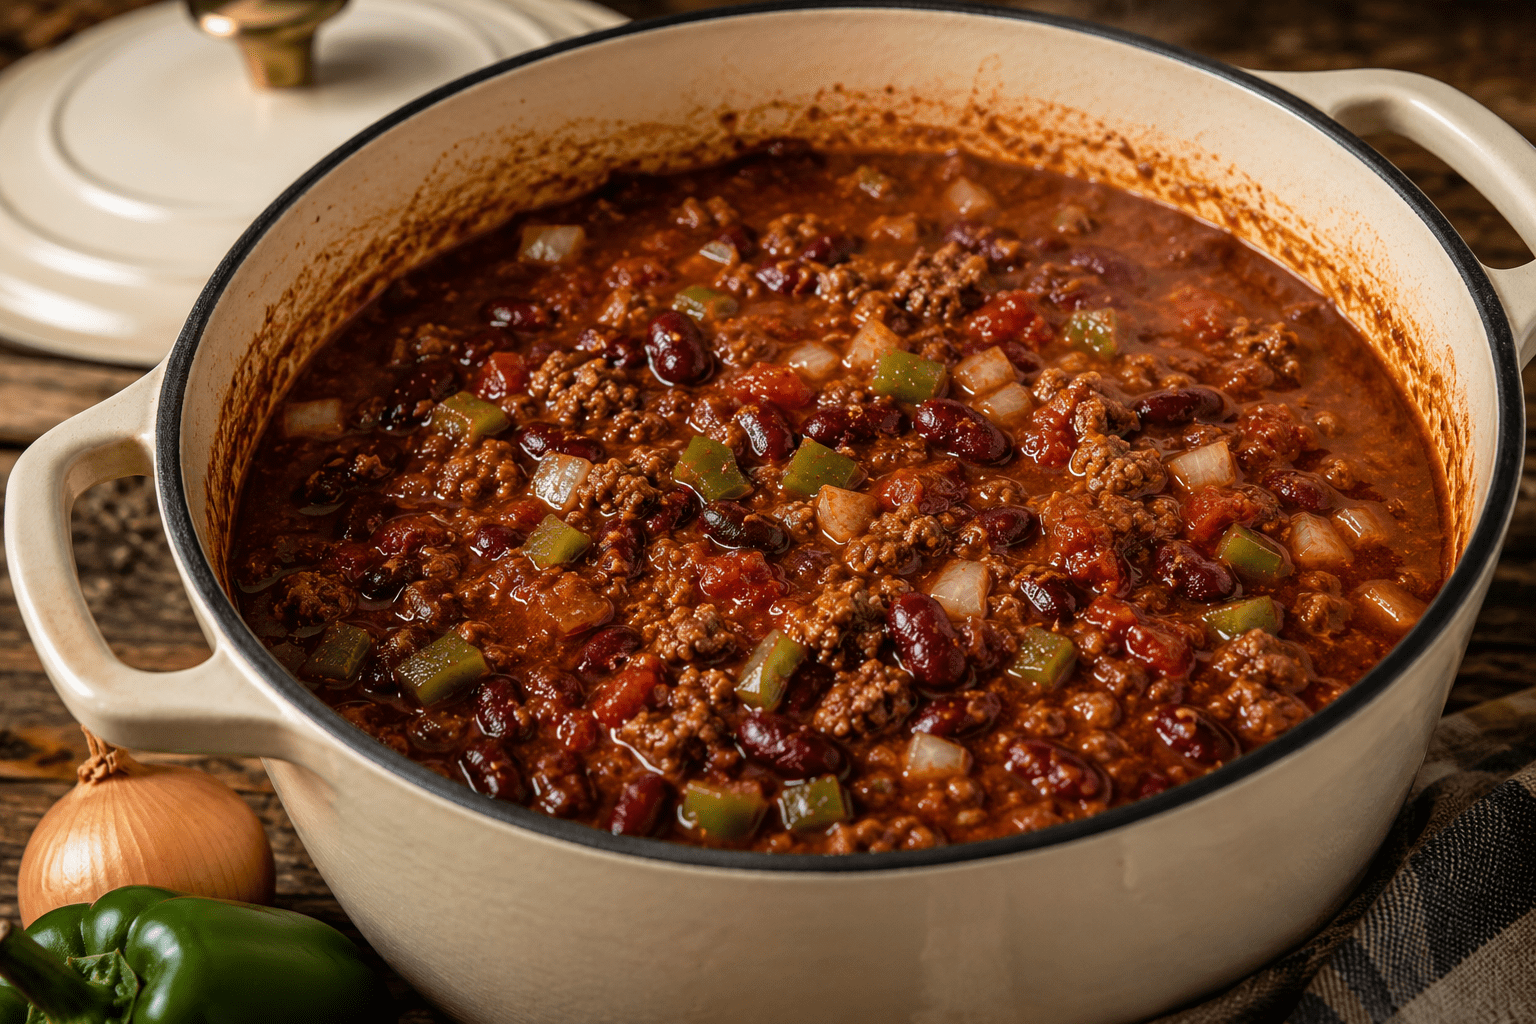
Table of Contents
Venison Chili > Beef Chili
Okay I know that’s a bold claim. But hear me out — because once you understand why, you’ll never go back to beef chili voluntarily.
Ground venison is significantly leaner than ground beef. A standard 80/20 ground beef chili produces a layer of rendered fat you have to skim off the top or drain from the pan. Ground venison produces almost none. That means every bit of flavor in the pot is from the meat itself, the spices, and the aromatics — not diluted by grease.
The flavor of venison is also more complex than beef. Slightly sweeter, slightly more mineral, with a depth that absorbs bold spice beautifully. When you build a proper chili base — toasted cumin and chili powder, caramelized onion, dark beer or beef broth — the venison takes all of that on in a way that beef sometimes fights.
The one thing to watch is dryness. Because venison is so lean it can go dry if you rush the simmer or cook it at too high a heat. Low and slow is the rule. Give it at least 45 minutes uncovered at a gentle simmer and the meat stays tender and the chili thickens naturally.
What You’ll Need
Ingredients (serves 6–8):
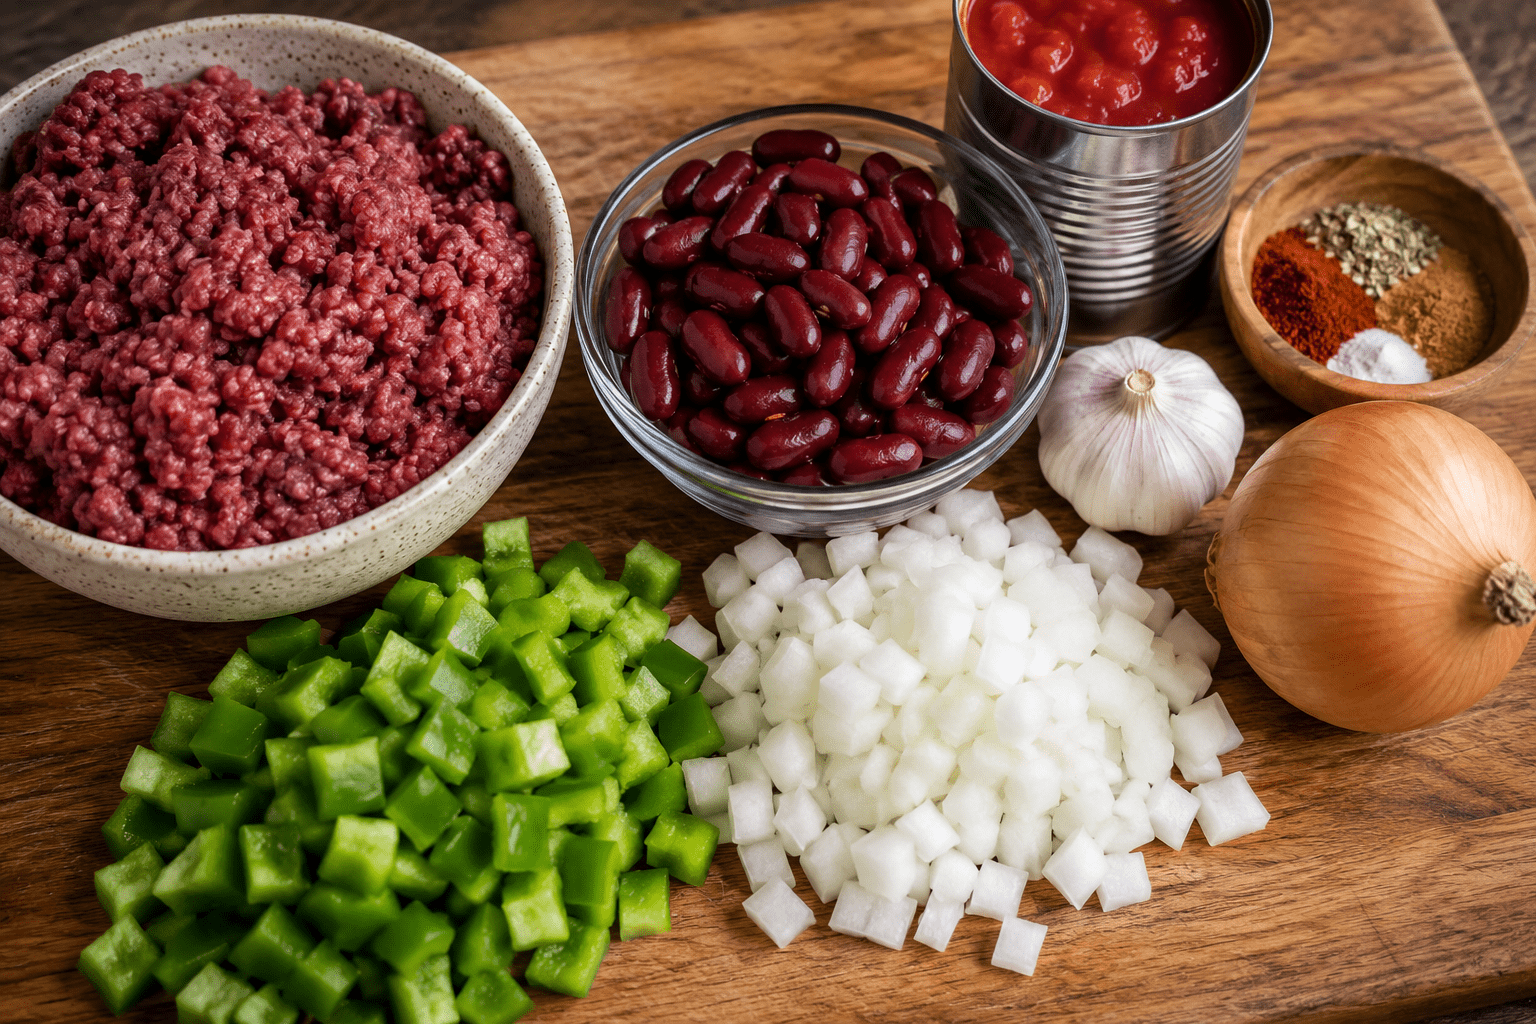
- 2 lbs ground venison
- 1 large yellow onion, diced
- 1 green bell pepper, diced
- 4 cloves garlic, minced
- 2 tablespoons tomato paste
- 2 tablespoons chili powder
- 1 tablespoon ground cumin
- 1 teaspoon smoked paprika
- 1 teaspoon dried oregano
- ½ teaspoon cayenne pepper (adjust to heat preference)
- 1 dark beer (stout or porter) OR 1 cup beef broth
- 1 can (28oz) crushed tomatoes
- 1 can (14oz) diced tomatoes
- 1 can kidney beans, drained and rinsed
- 1 can black beans, drained and rinsed
- 2 tablespoons olive oil
- Kosher salt and fresh cracked black pepper
- 1 tablespoon Worcestershire sauce
Equipment:
- Large Dutch oven or heavy-bottomed pot — cast iron Dutch oven is ideal
- Wooden spoon
- Sharp knife and cutting board
Toppings (set out for serving):
- Shredded sharp cheddar cheese
- Sour cream
- Sliced green onions
- Pickled jalapeños
- Fresh cilantro
- Corn chips or cornbread on the side
Step 1 — Brown the Venison in Batches
This is the most important step and the one most people rush. Do not crowd the pan.
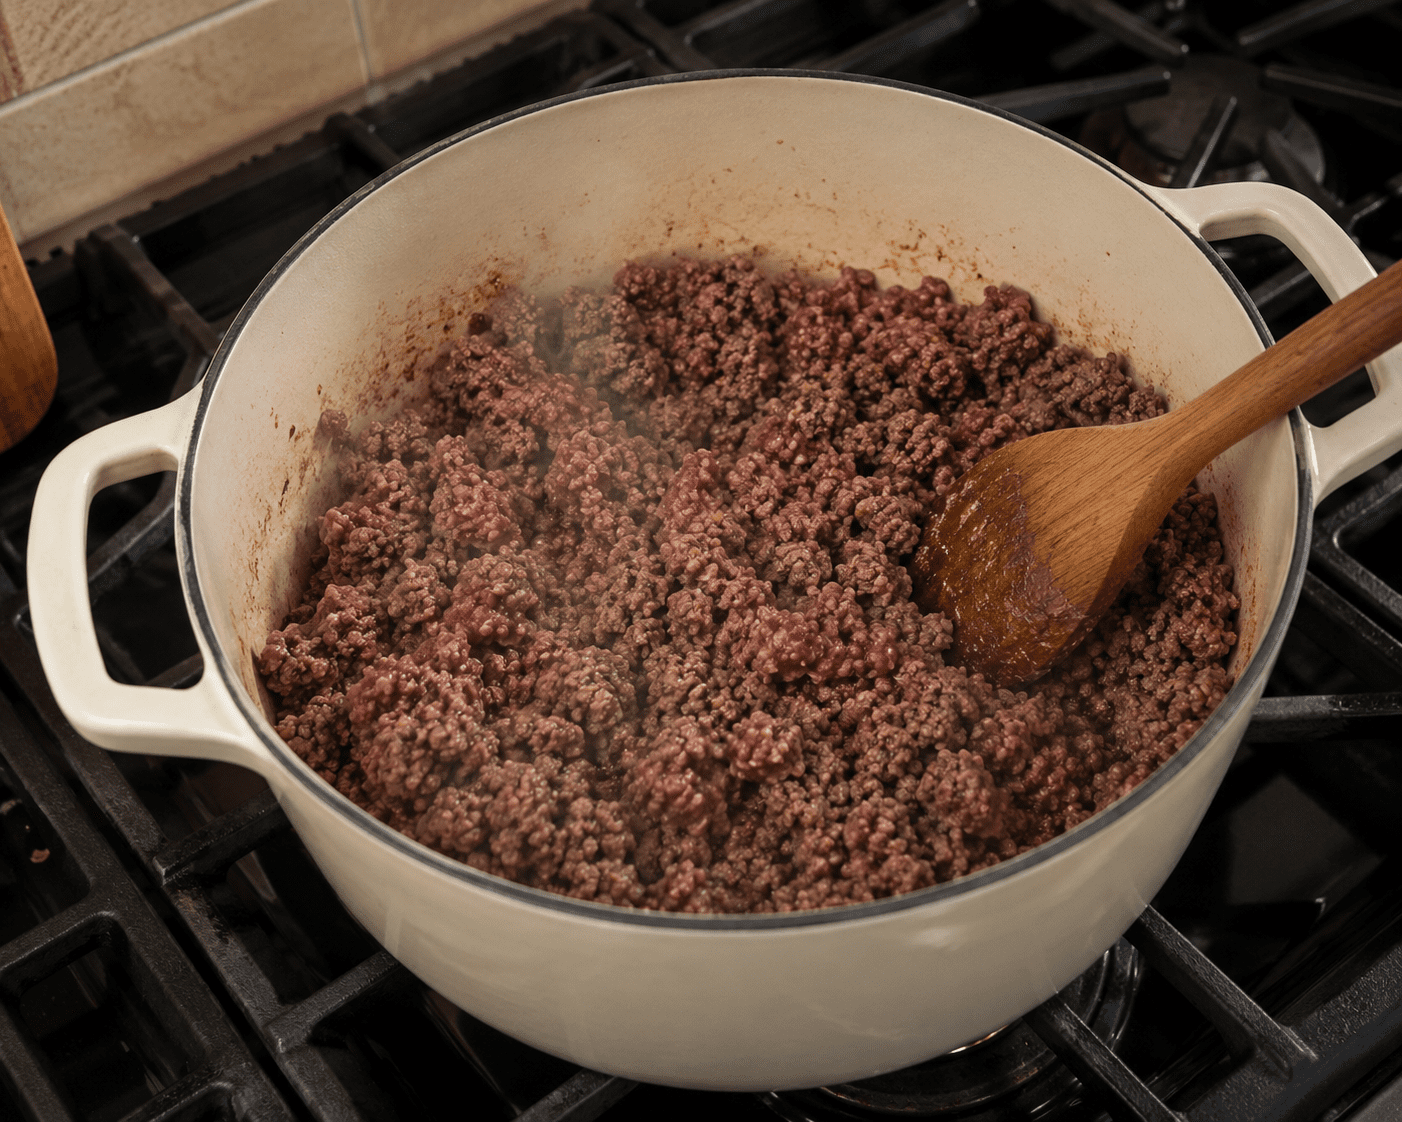
Heat your Dutch oven over medium-high heat and add one tablespoon of olive oil. When the oil shimmers add half the ground venison. Spread it in a single layer and let it sit undisturbed for 2 full minutes — you want a deep brown crust forming on the bottom, not steaming gray meat.
Break it up, cook another minute, then transfer to a plate. Repeat with the second pound. Two batches takes an extra five minutes but the difference in flavor is significant. All those browned bits on the bottom of the pot are pure flavor — they dissolve into the chili as it simmers and give it a depth you can’t get any other way.
Season the venison with salt and pepper as it cooks. Set aside.
Step 2 — Build the Aromatic Base
In the same Dutch oven over medium heat add the remaining tablespoon of olive oil. Add the diced onion and bell pepper. Cook stirring occasionally for 8–10 minutes until the onion is soft and starting to turn golden at the edges. Don’t rush this step either — caramelized onion adds sweetness that balances the heat of the chili spices.
Add the minced garlic and cook 60 seconds until fragrant.
Add the tomato paste and stir it into the onion mixture. Cook for 2 full minutes — the tomato paste should darken slightly and stick to the bottom of the pot. This concentrates its flavor dramatically and is one of the most important flavor-building steps in the whole recipe.
Step 3 — Toast the Spices
Add the chili powder, cumin, smoked paprika, oregano, and cayenne directly to the pot with the onion and tomato paste mixture. Stir constantly for 60 seconds — the spices will become intensely fragrant and deepen in color.
Toasting spices in fat before adding liquid is a technique borrowed from traditional Mexican cooking and it transforms the flavor of a chili completely. The difference between raw spices added to liquid and toasted spices bloomed in fat is the difference between a flat chili and a layered one.
Step 4 — Deglaze and Add the Liquid
Pour in the dark beer or beef broth. Use your wooden spoon to scrape up every browned bit from the bottom of the pot — this is called deglazing and those bits are concentrated flavor that needs to get into the chili.
Let the beer reduce by half — about 3 minutes of simmering. The alcohol cooks off and what remains is a deep malty richness that’s one of the things that makes this chili taste different from every other version.
Step 5 — Add Everything Else and Simmer
Add the browned venison back to the pot. Add the crushed tomatoes, diced tomatoes, kidney beans, black beans, and Worcestershire sauce. Stir everything together.
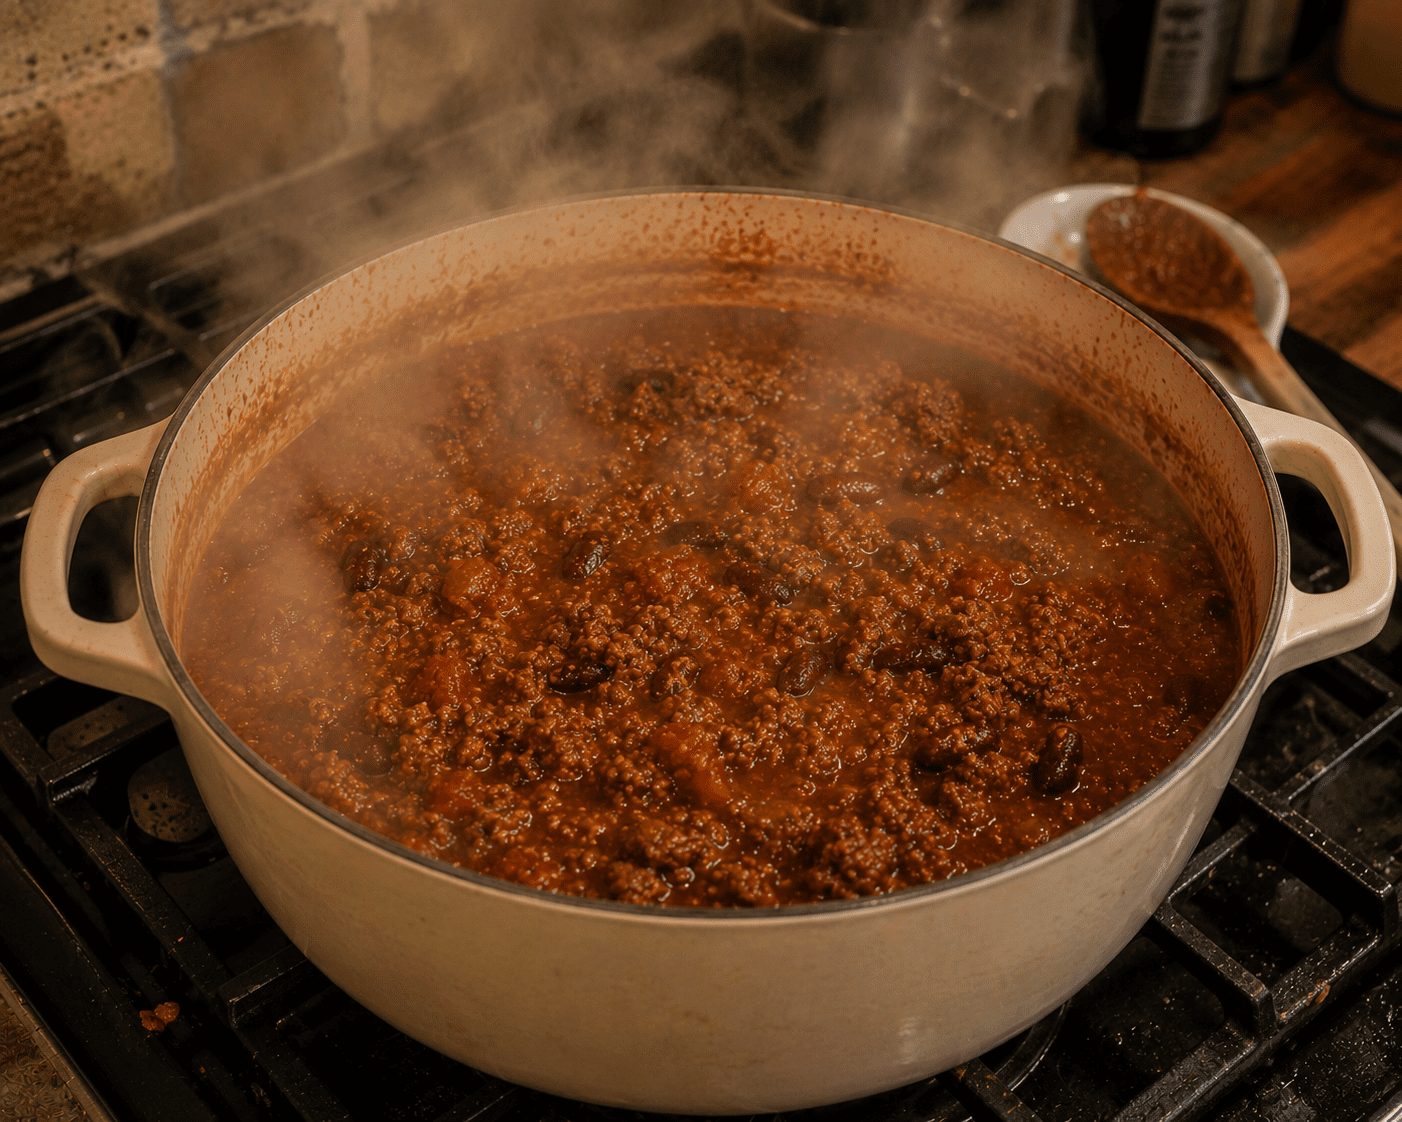
Bring to a gentle simmer — small bubbles breaking the surface, not a rolling boil. Reduce heat to low, leave the lid off, and simmer for 45 minutes to 1 hour stirring occasionally.
The uncovered simmer is important — it allows moisture to evaporate and the chili to thicken naturally. If it gets too thick before the flavor develops fully add a splash of broth or water. If it’s still too thin after an hour increase the heat slightly for the last 15 minutes.
After 45 minutes taste the chili and adjust seasoning. More salt, more cayenne, a splash more Worcestershire — trust your palate here. The chili should be bold and complex with heat that builds rather than hits all at once.
Step 6 — Rest Before Serving
This is the step nobody talks about in chili recipes. Let the finished chili rest off the heat for 10–15 minutes before serving. Just like meat needs to rest after cooking chili needs time for the flavors to settle and the liquid to be reabsorbed slightly by the beans and meat.
The chili that comes out of a 10 minute rest tastes noticeably more cohesive and rounded than chili served straight off the boil. Small detail. Real difference.
How to Serve Venison Chili
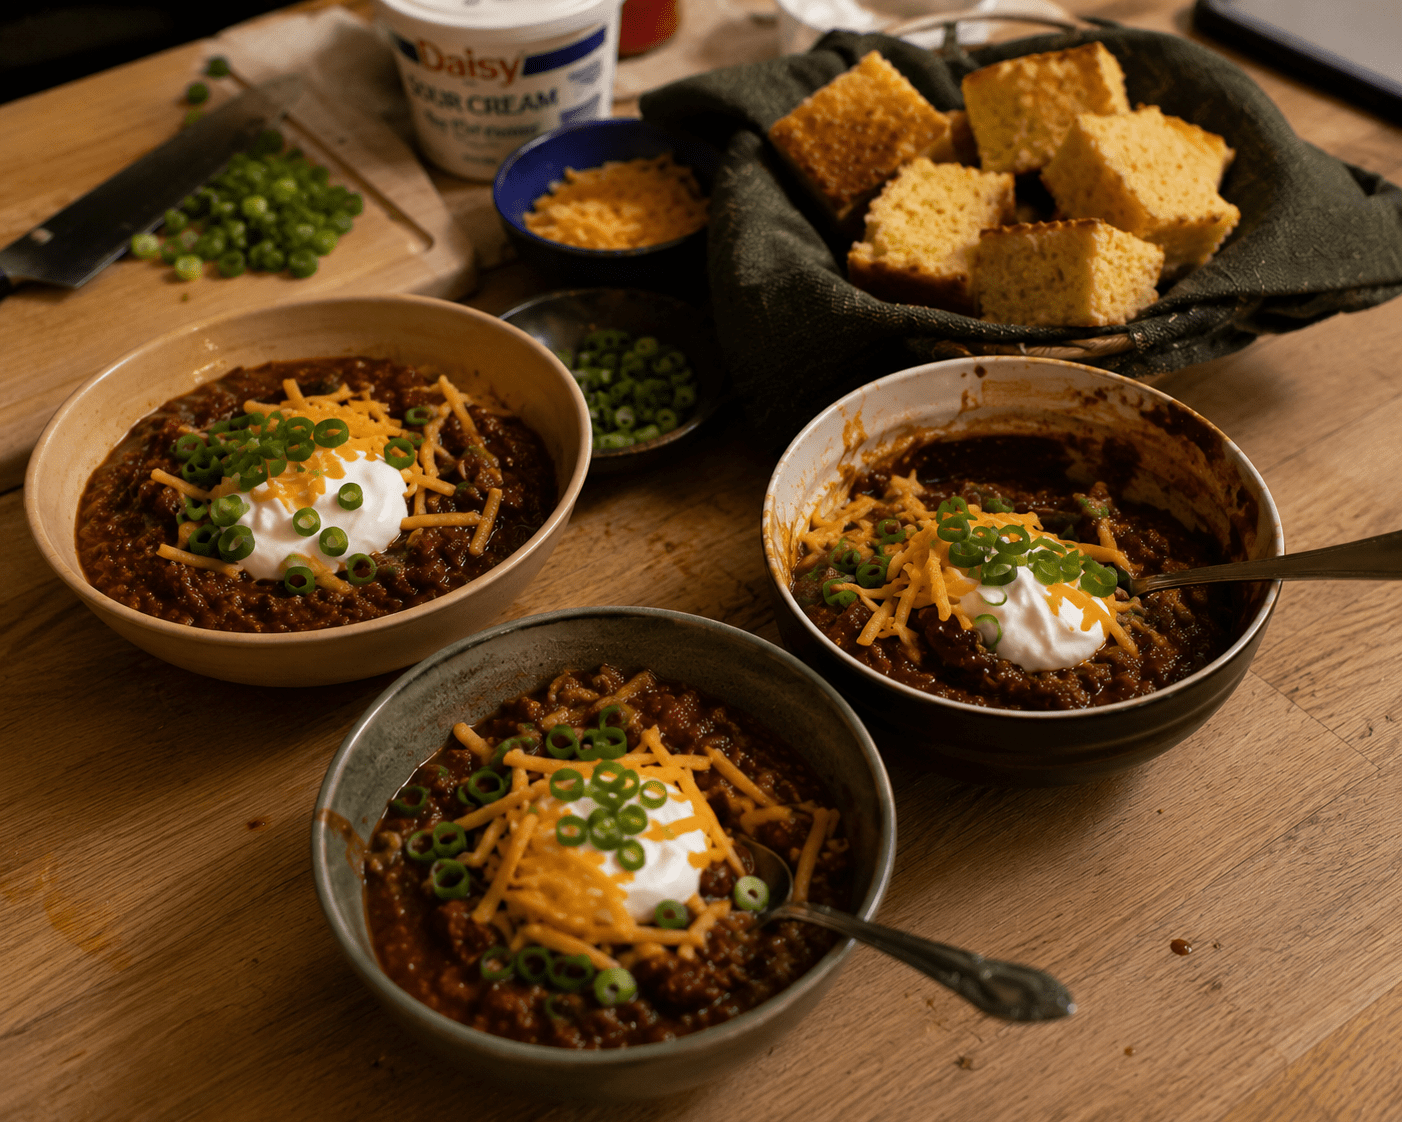
Set out all your toppings in small bowls and let everyone build their own bowl. The combination that works best — a scoop of sour cream in the center, shredded cheddar melting into the hot chili, sliced green onions, and a few pickled jalapeños for heat — is hard to beat.
Best sides for venison chili:
- Cast iron skillet cornbread — the classic pairing
- Corn chips for scooping — Fritos work perfectly
- A simple green salad to balance the richness
- Cold beer — the same kind you cooked with ideally
For a crowd: This recipe doubles perfectly. Use a large stock pot, brown the venison in three or four batches, and give the simmer an extra 30 minutes. It feeds 12–14 people from one pot and the leftovers are even better.
Venison Chili Variations Worth Trying
Once you’ve made the base recipe a few times here are some variations that take it in different directions:
White Venison Chili Replace the red chili base with white beans, green chiles, chicken broth, and cumin. Add corn and a squeeze of lime at the end. Completely different flavor profile — lighter, brighter, and genuinely excellent over rice.
Smoked Venison Chili Use smoked venison instead of fresh ground — or add a teaspoon of liquid smoke to the base recipe. The smoke flavor plays beautifully against the cumin and chili powder. This is the version I make for hunting camp when we have leftover smoked venison from the night before.
Venison Chili Mac Make the base recipe without beans. Cook 12oz elbow macaroni until just al dente. Combine with the chili in the pot. Top with shredded sharp cheddar, cover for 5 minutes until the cheese melts. This is the one that disappears fastest at hunting camp every single year without exception.
Texas Style — No Beans Skip both cans of beans entirely. Increase the venison to 3 lbs. Add a tablespoon of masa harina (corn flour) in the last 15 minutes to thicken. This is a more traditional Texas red — meat forward, deeply spiced, thicker than a bean chili.
Make Ahead and Freezer Instructions
Venison chili is one of the best make-ahead meals in the outdoor lifestyle kitchen. The flavor genuinely improves overnight as the spices deepen and the beans absorb more of the chili base.
Refrigerator: Keeps well for 5 days in an airtight container. Reheat on the stovetop over medium-low heat with a splash of broth if needed.
Freezer: Freeze in 2-cup portions in zip-lock freezer bags laid flat. Keeps for 3 months without any quality loss. Thaw overnight in the refrigerator. This is one of the best ways to work through a large ground venison supply from the freezer — make three batches of chili in November and you’ve got meals through February.
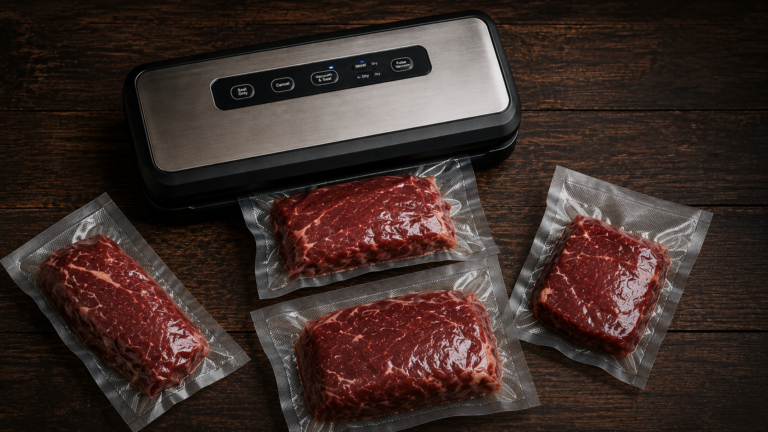
Vacuum sealed: If you have a vacuum sealer, frozen venison chili keeps for 6 months with no freezer burn. I trust my FoodSaver for all my vacuum sealing needs.
Common Mistakes to Avoid
Not browning in batches. Crowding the pan produces steamed gray meat with no crust. Two batches, proper browning, makes a real difference.
Skipping the tomato paste toast. Two minutes of cooking the tomato paste in fat before adding liquid adds a depth of flavor that can’t be replicated any other way.
Not toasting the spices. Same principle — 60 seconds in fat before liquid transforms spices from flat to layered.
Simmering with the lid on. The chili needs to reduce and thicken. A lid traps moisture and you end up with a watery chili that tastes diluted.
Adding beans at the beginning. Beans added at the start break down too much over a long simmer. Add them with the tomatoes — 45 minutes of simmering is plenty for canned beans.
Serving immediately without resting. Ten minutes off the heat makes a noticeable difference in flavor cohesion.
Frequently Asked Questions
Does venison chili taste gamey? Not when it’s made correctly. The bold spice base — chili powder, cumin, smoked paprika — works with venison’s natural flavor rather than fighting it. Properly handled ground venison cooked in this recipe tastes cleaner and more complex than beef chili. The people who say venison is gamey are almost always eating venison that was poorly handled in the field or overcooked.
Can I use venison stew meat instead of ground? Yes — cut into ½-inch cubes, brown in batches the same way, and extend the simmer to 90 minutes to 2 hours until the meat is fork tender. The texture is different but the flavor is equally excellent. This is a great way to use tougher cuts like shoulder or neck meat.
What beer works best in venison chili? A dark beer — stout, porter, or dark lager — adds malty depth without bitterness. Guinness Stout is the classic choice. A local craft dark lager works beautifully too. If you don’t want to use beer substitute with 1 cup of beef broth plus 1 tablespoon of Worcestershire sauce.
How do I make it spicier? Increase the cayenne to 1 teaspoon, add 1–2 diced fresh jalapeños with the onion, or stir in a tablespoon of your favorite hot sauce at the end. Pickled jalapeños as a topping let each person control their own heat level at the table.
Can I make this in a slow cooker? Yes — but still brown the venison and build the aromatic base on the stovetop first. Transfer everything to the slow cooker and cook on low for 6–8 hours or high for 3–4 hours. Remove the lid for the last 30 minutes to allow some thickening.
How much does this recipe cost to make? If you’re using venison from your own harvest the protein is essentially free. The remaining ingredients — canned tomatoes, beans, spices, one beer — run $8–$12 total. This is genuinely one of the most economical meals you can make from a deer harvest.
Conclusion
This venison chili recipe is the one I come back to every fall without fail. It’s the one that’s sat on a camp stove for six hours filling a whole cabin with the smell of cumin and toasted chili. It’s the one that’s been served to skeptics who became believers before they finished the bowl.
The technique matters — browning in batches, toasting the spices, the long uncovered simmer. None of it is complicated. But each step adds something real and the result is a chili that tastes like it took all day even when it didn’t.
Make a double batch. Freeze half. Pull it out on a cold February night when the season is over and the freezer is still full. That’s what field to table cooking is actually about — the harvest feeding you all the way through winter.
If you enjoyed this recipe, head over and check out our guide to cooking a venison backstrap in the cast iron.
Got a venison chili secret that belongs in this recipe? Drop it in the comments — I’m always looking for the next thing to try.